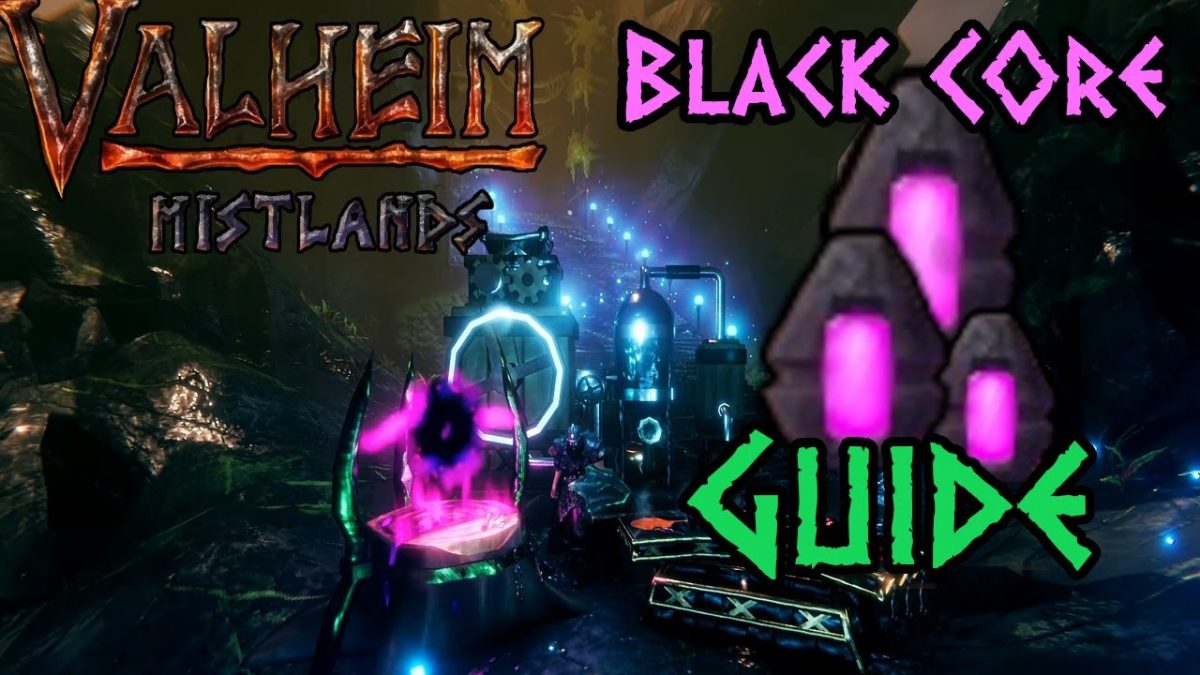
Valheim: How To Get Black Cores And What They Are Used For

This guide will show players how to obtain Black Cores in Valheim and what they are used for.

The Black Cores are a difficult task in the latest Mistlands update for Valheim, and players must be fully armed before they can find them. A mysterious artifact of ancient power known as the Black Core is required by adventurers to create late-game facilities like the Black Forge, Galdr Table, or Eitr Refinery in Valheim. The only place to find this mysterious core is in the perilous Mists biome, so getting your hands on it is not simple. In order to obtain black cores in Valheim and learn how to use them, players must purchase enough Valheim Items during the course of the game.

Where to find Blackcore in Valheim

The Infested Mines, which are the Mists’ dungeons, are the only places to find the Black Core. Players must be fully equipped before entering these incredibly perilous places, which are dispersed throughout the Mists and where there will undoubtedly be explorers and ticks accumulating. Players should be aware of the white runes indicating the entrance to the hidden treasure room as they explore the Infested Mines. Players can locate Black Cores on the pillars in these rooms in addition to the substantial quantities of gold (which are useful when locating Valheim’s dealers).

How to use Blackcore in Valheim?

The three most significant constructions added by the Mistlands update are constructed primarily using Black Cores. These are the Eitr Refinery, Black Forge, and Gladr Table. Together, these provide players with everything they need to vanquish the Mists and its formidable foes. All in all, players will need to collect 15 black cores to build these complexes, which may necessitate visiting to numerous Infested mines.

The Black Forge, where players can construct the majority of the upgraded new armor and vintage weaponry, is the first of them to become available. Then, in order to build the Eitr Refinery, the players must learn how to draw sap from the Mists’ roots. The Galdr Table is accessible and the Eitr Refinery enables the production of refined Eitr, which is needed to make the majority of Valheim’s new magic goods. Players can construct new magical armor and weapons at this last crafting station.

The Black Core is an integral part of the Mistlands update. You can use Black Cores to craft these items:

Black Forge — Allows you to craft Mist-grade armor, weapons, and the durable Dvergr Lantern.

14x Black Marble

10x World Trees

5x black core

5x iron

5x copper

Galdr Table – This allows you to craft magic-related items such as armor, weapons, and even the Sealbreaker, which is a key item you can use to find the Queen.

25x World Trees

10x ferrous metal

10x Black Marble

5x black core

15x Refined Eitr

Eitr Refinery — Refines sap and soft tissue into refined Eitr.

20x Black Marble

5x ferrous metal

10x World Trees

5x black core

3x Sap

If you wish to engage in battle with challenging foes in this update, you must possess these structures. Collecting all of these facilities is vital to living in Valheim’s new Mistlands upgrade, and players will need to buy enough Valheim Resources in-game.

GTA Online: How To Get The Railgun (Where And What To Do)

This guide will show you where to find the Gun Van and how to get the Railgun in GTA Online.

In GTA Online, players can purchase railguns to use against persistent foes or to destroy large vehicles like tanks. Formerly, the Railgun in GTA Online could only be utilized in a select few tasks and not while free roaming. The potency of this weapon makes it ideal for dispatching obstinate NPCs. This article will explain how to obtain the Railgun in GTA Online as well as where to find the Gun Van. In the game, players can save up enough GTA V Online Money.

What is a Railgun in GTA 5 Online?

One of the most widely used heavy weapons in GTA 5 Online is the railgun. It’s stocked by GTA 5 Online creator Coil and costs a hefty GTA Cash – 250K to buy from Gun Van; fortunately, players receive a discount after winning a Bronze, Silver, or Gold medal. The Railgun employs the most cutting-edge railgun technology in the GTA and can fire up to 20 rounds at once. This enables it to penetrate even the strongest armour, making it extremely effective against foes of armored vehicles. It also aids in ranged confrontations, making it a great choice for people who want to eliminate opponents from a distance.

Railgun Supplier Locations

In contrast to the traditional GTA Online store, the Gun Van has 30 different locations that are always changing. Also, unlike other merchants, the Gun Van’s icon won’t be visible to players until they are nearby. Look at your map if you’re searching for a deal.

Players can buy the Railgun from the Weapons menu if they locate the Gun Van. The Railgun sells for $250,000. Players should be informed that this is a 10% discount.

How to get Railgun in GTA 5 Online?

In GTA Online, you must locate the Gun Van in order to obtain the Railgun. Go to the “Weapons” section once you’ve finished looking through the van’s inventory. You may find the Railgun by scrolling down in the “Weapons” section. The Railgun is currently discounted 10% to $657,000, but it’s still a good deal.

How to Use a Railgun

Railguns work well against foes who drive armored vehicles. The GTA Online railgun is most effective against helicopters, tanks, armored vehicles, and other vehicles due to the sheer amount of damage it can cause. Furthermore, as it can hurt the player if fired from close range, the railgun is best used at a distance. Since the railgun has little recoil and can destroy the majority of vehicles with a single shot, it is also suitable for beginners.

The information provided above is a detailed guide on how to obtain rail weapons and how to utilize them in GTA Online. In the game, players can purchase enough of GTA V Money.

High on Life: How to Defeat 9-Torg (Boss Fight)

This guide will show players how to defeat 9-Torg in High on Life.

The mother of the Torg family, known as 9-Torg, is one of the first bosses that players in High on Life will run into. Given that this is the first fight you’ll encounter, the alien and its numerous clones can be challenging to defeat. Until the player goes to find all of the High on Life weapons, this boss will block their path. It will be difficult for the player to complete the first mission because they are just beginning their career as a bounty hunter. In order to overcome 9-Torg in High on Life, this tutorial will show players how to do so. Players can also purchase sufficient High on Life Accounts in the game.

How to beat 9-Torg in High on Life

Round 1: 9-Torg’s shooting attack

As she advances swiftly left or right, 9-Torg launches a firing attack to start the fight. The player can avoid her wide-area blaster rounds at first by moving around a lot and hiding behind the level’s boxes. She then explodes. She also provides a high-impact, green single with a ball shape that goes slowly and is simple to evade if players maintain their distance rather than attempting to attack with the Knifey.

It’s imperative to use Kenny as frequently as possible by aiming at the 9-Torg’s head. The glob-shot assault can also be used to knock her down so that the player can fast swing with the Knifey or attempt a mid-air juggle.

Round Two: How to Dodge 9-Torg’s Lasers

The 9-Torg will dive under the surrounding ooze after a blaster shot before unexpectedly popping out and stunning the player with a barrage of single horizontal and sporadically vertical green laser blasts.

Jumping over the laser will prevent any health loss, however trying to evade the laser will result in substantial damage. The likelihood of dying from devitrification increases significantly if you are hit by a laser. After the jump, keep firing here to keep depleting her health; be careful around any shattered floor tiles.

Round 3: How to Tether to Slime

Players must press the LB button on their Xbox controller in order to use the Knifey’s restraining ability to hold back the flying insects above before the 9-Torg’s final move, letting the lethal ooze rise, is made. Throughout the course, players must harness and swing from one bug to another until the slime levels return to normal, letting them to safely descend to the platform below.

The 9-Torg’s system

We won’t have many options as you currently only have Kenny and Knifey. However, Glob Shot juggling is an efficient technique to do a ton of damage to her if you get the hang of it.

When a Glob Shot explosion knocks her down, try to approach her for a good stab from Knifey.

You can try to hit her with a ball to knock her down or play with her in the air if she’s high up and being attacked by a laser beam.

You’ll receive the accomplishment First Bounty Down following the fight. After that, you’ll get the chance to take on a mystery boss. The detailed instructions for defeating 9-Torg in High on Life are provided above. Visit Topgmnews.com for more High on Life guides.

How to Use Kinetic Ore to Travel Distance in Fortnite

This guide will show players how to use Kinetic Ore to travel distance in Fortnite.

The first season of Fortnite Chapter 4 adds a ton of new features to the game, such as buggies, new areas, new weaponry, and augmented reality. Recently, Chapter 4 began, bringing with it the enigmatic Kinetic Ore. The Impact Hammer is both a lethal weapon and a superb navigating tool because it is an energy transfer substance. Players may learn how to use kinetic ore to cover ground in Fortnite by reading this article. To find kinetic ore, players must have enough Fortnite V-BUCKS prepared.

How to Use Kinetic Ore to Move Distance in Fortnite

With Kinetic Ores, long-distance travel is rather easy to achieve. Get near to the Kinetic Ore once you’ve located it and strike it with the pickaxe tool four to five times. After that, the kinetic ore will begin to fire an energy beam in the opposite direction from where you hit it. The key to this puzzle is to aim your gaze in the desired direction and strike the kinetic ore. Jumping on the stone slab will cause you to slingshot in the direction of the energy beam once the kinetic ore has built up enough energy. This will allow you to travel far during the energy collection process.

Where to Find Kinetic Ore in Fortnite

Chapter 4: Season 1 introduces the luminous physical rock known as the Kinetic Ore. When it is hit, if you haven’t already used it, it recharges before shooting. The ability to leap on it and launch it gives gamers a completely new fast-travel option.

Finding one of the enigmatic stones is the first step for Fortnite players who want to finish the Kinetic Ore travel quest. Players can try to find the Kinetic Ore whenever they arrive to the Shattered Slabs or select it as their landing location in Fortnite. This item is easily identifiable due to its dark blue tint. In order to defend oneself against adversaries, players can plunder the region for weapons and shields, although using harvesting equipment is all that is needed to move with kinetic ore the fastest.

The player must repeatedly hit the Kinetic Ore with their Harvester after selecting it. Players won’t need to worry about damaging Kinetic Ore because they’ll recognize that striking it won’t grant them materials like hitting other structures. In Fortnite, the ore will appear more purple towards color and will shoot a beam of propulsion energy in the direction the player is looking when they hit it seven or eight times using a harvesting equipment. At this stage, users can mount the ore and enter the energy ray to launch the kinetic ore in the direction they specify.

As soon as the Kinetic Ore in Fortnite strikes the earth or other structures while a player is flying, they will be shot down. In Fortnite, players can manipulate the direction the ore pulls them in order to avoid this and make sure they fly as far as possible. For instance, instead of staring directly at an ore, players should crouch and strike it at its highest point. By doing this, the ore’s jump becomes more vertical, enabling the player to ride it and go as far as possible in order to finish the “travel distance utilizing kinetic ore” objective as soon as feasible.

This concludes the detailed tutorial on using kinetic ore travel distance in Fortnite. Visit Topgmnews.com for more Fortnite tutorials.

All Illusory Walls in Elden Ring: Academy of Raya Lucaria

This guide will tell the player all the Illusory Wall locations in the Academy of Raya Lucaria in the Elden Ring.

One of the most enchanting places that Elden Ring players will go to is the Academy of Raya Lucaria. These hidden walls lead to areas in the game that frequently conceal rare items and even spells. Since the first Dark Souls, FromSoftware has enjoyed using illusory walls as a barrier to keep players from progressing, tricking them into believing there is a wall where there should be a clear route ahead. With the help of this tutorial, players will be able to prepare enough Cheap Elden Ring Runes for the game by knowing exactly where the Illusory Wall is located in the Academy of Raya Lucaria.

The First Raya Lucaria hidden wall

Two spell-casting foes await players at the top of the steps leading to the Cuckoo Chapel when they exit the elevator leading to Raya Lucaria’s Academy in the Elden Ring. The first secret tunnel in Raya Lucaria may be found by turning right as soon as you enter the church and hitting the western wall in front of you. A runic arc in front of a statue and multiple sarcophagi will be the result of this. If the player wears the Great Rune to experience its effects, they can use this unique item.

The Second Raya Lucaria Hidden Wall

Players of Raya Lucaria can access the second hidden entrance inside the Academy, close to the Grace Schoolhouse classrooms. The player can turn left in the corridor to find a room with an empty bookshelf right in front of the entrance as they enter Raya Lucaria Academy further away from the Land of Grace. The Blacksmithing Stone may be found on the balcony after hitting the bookshelf, which will show it to be a mirage[4].

The player can jump onto a platform from the balcony if they turn to the north. A mountainous platform with two Trina’s Lilies and some rocks close to the edge that the player can climb can be reached by following that ledge. The Olivinus Glintstone Crown, a helmet that boosts intelligence by three but depletes health by 9%, is another item that may be found near the top by continuing on and jumping over a gap. In Elden Ring, this helmet can be used to unlock the Converted Towers Puzzle.

The Third Raya Lucaria Hidden Wall

The Schoolhouse Classroom Site of Grace is followed by a living jar opponent and a number of wizards, whom the players will come across shortly. After ascending two flights of stairs in that room, turn left right away to find another empty bookcase. Similar as earlier, clicking on it will make Raya Lucaria’s hidden passageway visible. This passageway opens up to a room with a stone sword key and a chest holding comet magic. Players will also discover a ladder leading to the seemingly empty upper level close to the room’s entrance.

The player can explore another secret section in the Elden Ring by heading east on the second floor, jumping over a railing, and finding some damaged beams. Enter it and descend into the crawl area to find a room with a massive crystal array and an object in front of it. As soon as the artifact is looted, all of the dormant living jar opponents in the area will attack, therefore players should take care to defeat them before taking it. Players that want more Elden Ring information should visit Topgmnews.com.

Destiny 2: How to Get the Pruina Gloss Set (Dawn 2022)

This guide will tell players how to get the Pruina Gloss set in Destiny 2 this year.

Return of Dawn New decorative armors, including the free Pruina Luster set, are available for purchase in Destiny 2. The Dawn Festival starts every December, bringing joy to everyone in the tower and throughout the entire solar system. This article will explain how to obtain the Pruina Gloss set in Destiny 2 this year. To do so, users must purchase sufficient Destiny 2 Silver.

How to get the Pruina Luster set for free in Destiny 2

There is no way to purchase the exact quantity, however players can buy the armor in the Eververse store for 15,000 credits. Players must therefore either purchase the $5 and $10 packs or $20 worth of silver. The Pruina Luster set is only available during the Dawn event, much as the mechs in Festival of the Lost in Destiny 2. Fortunately, Destiny 2 still allows Guardians to buy armor from earlier games. This indicates that gamers who didn’t obtain these common cosmetic goods will have another opportunity in December.

How to get the Pruina Luster set for free in Destiny 2

Guardians can use silver coins to buy the Pruina Luster set, but they can also use bright dust to buy armor. Only cosmetics can be purchased with this cash at the Eververse shop. Through a variety of activities, including seasonal challenges and reward tracks, Bright Dust can be acquired. Events are a wonderful way to acquire this money because they offer weekly completed quests worth 200 Bright Dust and repeated quests worth 10. Naturally, gamers will want to set aside money for deluxe universal cosmetics, like the recently released Fortnite armor in Destiny 2.

The Pruina Luster set has no stats attached to it; it is just decorative. Each of the Guardians’ five pieces of armor is capable of receiving global decorations. Players can also add shaders to various components. If players wish to be more inventive, they can combine the Pruina Luster set with different decorations because it dyes well. In Destiny 2, these adjustments enable Guardians the chance to alter their characters in accordance with their tastes and interests. For more Destiny 2 news and guides, players can subscribe to Topgmnews.com.

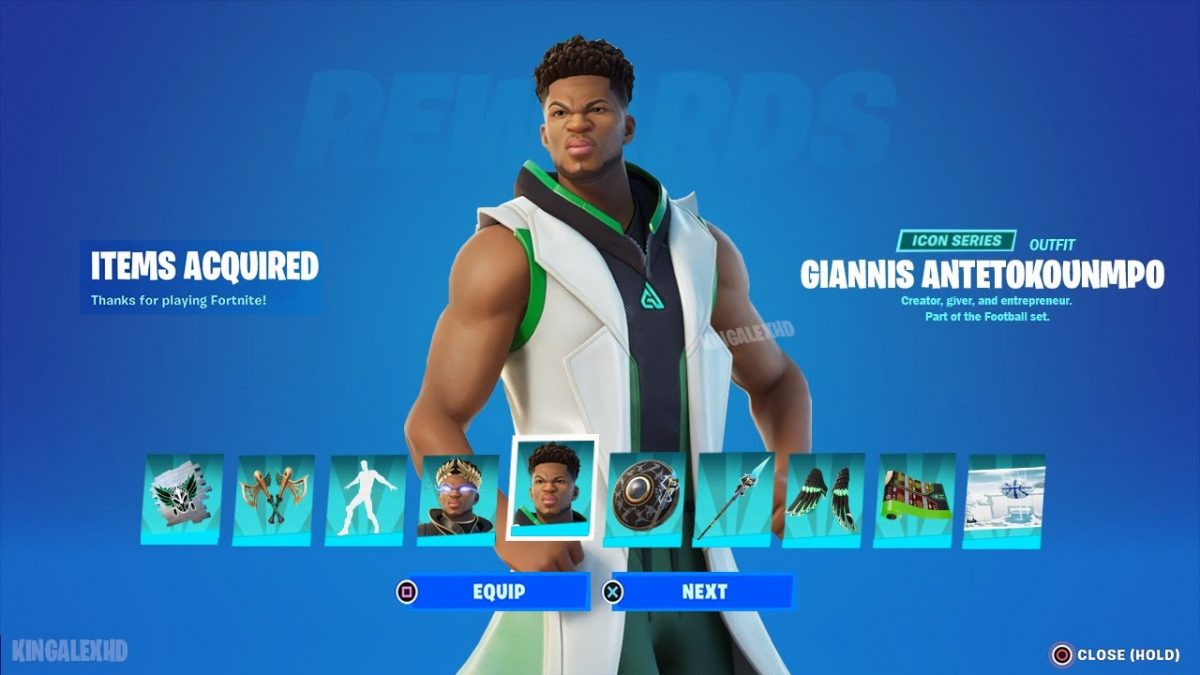
Fortnite: How to Get the Giannis Antetokounmpo Skin

This guide will show you how to get the Giannis Antetokounmpo skin in Fortnite.

We’ve seen an almost infinite range of characters added as playable skins, from Star Wars characters to the most popular anime. The most recent skin, which includes apparel and numerous other stuff, is that of Giannis Antetokounmpo. The Giannis Antetokounmpo skin in Fortnite can be obtained by following this strategy, but users must also purchase enough Fortnite V-BUCKS in order to do so.

What is the Giannis Antetokounmpo skin in Fortnite?

Greek-born professional basketball player Giannis Antetokounmpo is a member of the Milwaukee Bucks at the moment. In the Giannis’ Fantasy Arena made by Beyond, gather jewels from your adversaries and deliver them back to your base for rewards. The code for the island is 9700-3122-7030.

Two skins, “A True Warrior on and Off the Field” and “Hoplite Janis,” are included in the Giannis Antetokounmpo Bundle. The bundle contains eight products.

Victory’s Wings Back Bling (Included with Giannis Antetokounmpo costume.)

Triumphant Hashmark Ax Pickaxe Glider in Ankara packaged in print

Spray-on Yoruba mask

The dunk shield’s back is covered in glittering gold Diamond Doro Pickaxe

Warming tone of voice

You can purchase these things separately or as a package.

Fortnite Giannis Skin Release Date

Giannis’ Fortnite skin will now go on sale on December 24, 2022. It will be made available at 4:00 PST, 7:00 EST, and 0:00 GMT (25th). In other words, it’s the ideal way to spoil oneself ahead of Christmas.

Although a fixed price for the skin has not yet been established, numerous iterations of the NBA MVP have been discovered, some of which heavily draw on his Greek-Nigerian ancestry. Along with the gorgeous skin designs, there are also back charms, stickers, pickaxes, and other accessories.

How to get the Giannis Antetokounmpo skin in Fortnite?

While the V-Buck prices for these skins in-store have not yet been disclosed, we do know that they will be offered alongside other Giannis-themed accessories. To begin with, players can purchase wings that coordinate with the skins and utilize them as Back Bling or Glider. Even better, the store will sell accessories for the Hoplite Giannis, such as the Spartan Shield Back Bling and the Spear Harvesting Tool.

Giannis’ Fantasy Arena imaginative layout was even released in Fortnite to commemorate Giannis’ eagerly anticipated debut. Players explore an island covered in clouds in search of jewels that grant XP as they solve puzzles and complete platforming levels. Any basketball enthusiast must own the Giannis Antetokounmpo skin, a fantastic new addition to Fortnite. The Giannis Pack will be available for purchase on the Epic Games Store starting on December 24. More Fortnite players can sign up for our blog’s updates at Topgmnews.com.

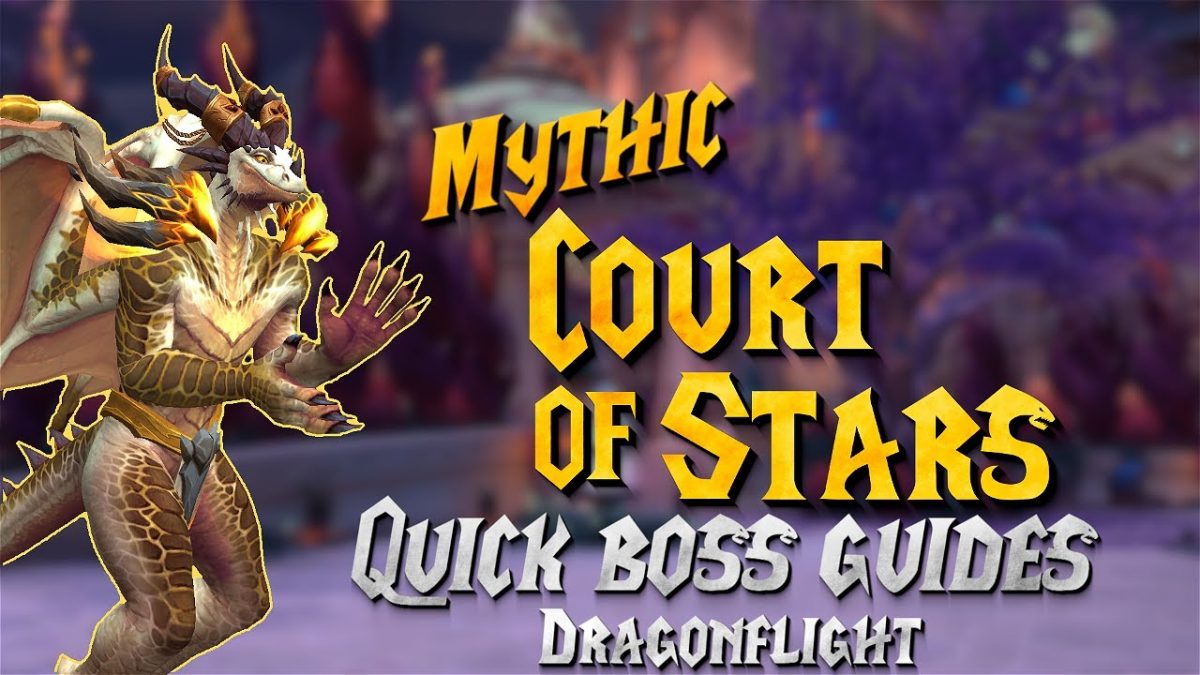
How To Get To The Court of Stars In Dragonflight

This guide will guide players on how to get to the Court of Stars and more in Dragonflight.

Dungeons from previous expansion packs will be added to the dungeon pool as World of Warcraft: Dragonflight starts its first Mythic+ season. The Mythic+ season will feature four dungeons from the current expansion pack and four dungeons from previous expansion packs. One of the game’s funniest encounters is Court of Stars, a spy-themed mission that is an excellent place to find pre-raid stuff. If readers are interested in learning more about the Mythic+ season, this guide will explain how to go to the Court of Stars in Dragonflight. Readers can also purchase enough WoW Dragonflight Gold to assist them get there more quickly.

How to get to the Court of Stars in Dragonflight

Court of Stars, which debuted in the 2016 World of Warcraft expansion Legion, is more difficult to locate than some of the other Mythic+ dungeons. Players must first travel to Valdrakken, the capital of the Dragonflight Dragon Islands in World of Warcraft, which is situated in the far northwest of the Thaldraszus region, in order to access the Court of Stars.

The player must use the portal to get to Dalaran once they have arrived in Valdrakken. The player must travel to the Broken Isles after Dalar. Players who have completed the Legion campaign and still possess a Dalaran Hearthstone can also utilize it.

Players must go to Suramar’s capital from Dalaran. Following your stop in Suramar City, you must follow a set of coordinates. On the WoW Dragonflight map, they are designated as 49,64. You can get to a place called the Hall of Fate using the coordinates. No, you still haven’t arrived at your desired location. There are a few last tasks to finish before you can enter Dragonflight’s Court of Stars.

Where is the Court of Stars entrance in Dragonflight

In Valdrakken, just next to the Valdrakken Treasury Hoard, sits the portal to the past, where Dragonflight’s legacy Mythic+ dungeon is situated. If you still have the Dalaran Hearthstone from the Legion campaign event in your inventory, you can use it to travel from Dalaran to the Broken Isles via the Valdrakken portal.

Travel to Suramar City, the region’s capital, after taking a flight from Dalaran to Suramar. The most direct route will be along the flight path to Meridian, or you can use a flying mount to fly there on your own. When you arrive in Suramar City, head to coordinates [49, 64] to find “Fate Square.” When you arrive, a gateway and four Kirin Tor Peacekeepers will be in its immediate vicinity. You will be taken directly to a subdivision called “The Aetherium” by the portal. The Court of Stars meeting stone is located in the southeast corner of the main rotunda in Aetherium, and the dungeon entrance is located on the east side of the area, behind an archway.

There are many hostile adversaries in Aetherium, but they are all level 45, so if they are causing you trouble, any highest-level character may kill them with a single shot. As an alternative, you can conceal yourself among the division’s adversaries by using the additional action ability “Masquerade,” which is exclusive to Suramar City.

Players may find more World of Warcraft Dragonflight tutorials at Topgmnews.com. The following is a comprehensive explanation on how to get to the Court of Stars in Dragonflight.

How to Craft and Collect Iron Ingots in Minecraft

This guide will show players how to craft and collect iron ingots in Minecraft.

Iron ingots are a craftable resource used to create sophisticated equipment in the game Minecraft. Players require enough iron ingots to help create resources in the game because they need better tools, armor, and weapons. While some materials, like wood or stone, are simple to acquire, some resources can only be gathered by acquiring specific things. Fortunately, making and gathering iron ingots is simple. Players will learn how to create iron ingots in Minecraft and how to gather them in this guide. In the game, players can also prepare a enough amount of Minecraft for Windows Game Coins.

How to Make Iron Ingots in Minecraft

Iron ingots are obtainable in Minecraft by a number of different processes, including smelting, crafting, looting, etc.

Smelting

If necessary, players can use a pickaxe to mine underground to gather ore, which they can then process to produce iron ingots. The player will also require coal from the ground in addition to this. You can use the furnace once you have an adequate supply of ore and coal. You can construct a furnace with cobblestone at a crafting station if you don’t already have one. Iron ore is ready to be smelted into iron ingots when it is placed in a furnace with coal at the bottom and iron ore on top. Pig iron or deep slate iron ore can also be used in place of ore by players.

Crafting

The player can turn nearby iron blocks into iron ingots at the crafting station if there are any iron blocks there. To get 9 units, place the block in the center of the crafting menu. To obtain an ingot with nuggets, players must fill a complete box with them.

Looting

By plundering numerous chests, players can find this crafting resource. Here are the locations where you can find these supplies for crafting:

Hidden wealth

Shipwreck

Village

Final city

Jungle temple

Stronghold

How to Collect Iron Ingots in Minecraft

By slaying iron golems, players in Minecraft can also increase the number of iron ingots in their inventory. You must first locate an iron golem. Iron golems can appear in towns in the game Minecraft. Once you locate the iron golem, attack it. Attacked iron golems will turn pink when they are damaged. The iron golem will drop iron ingots if you kill it and pursue it for a while. You must now obtain the iron ingot before it vanishes.

The information above is a detailed tutorial on creating and gathering iron ingots in Minecraft. In Bedrock Edition and Education Edition, you can also get iron ingots by using the composite creator. It may be acquired via objects dropped by husks, zombies, and zombie villagers in addition to stuff dropped by iron golems. For more Minecraft instructions, visit Topgmnews.com and become a subscriber.

How To Unlock The Heavy Stubber In Warhammer 40K Darktide

This guide will show players how to unlock the Heavy Stubber in Warhammer 40K Darktide.

Ogryn can employ the Heavy Stubber, an LMG with a high rate of fire and the ability to quickly dispatch foes, in Warhammer 40K Darktide. And Ogryn can withstand a lot of punishment before being knocked back. In Warhammer 40K, the Turret Heavy Machine Gun is a heavyweight light machine gun that was developed to fight against the Horde. Players can purchase this weapon with any random attributes they desire or take the chance of adding extra perks, despite its downsides like severe recoil and wide bullet spread. In-game purchases of sufficient Warhammer 40,000 Darktide Items can hasten the Heavy Stubber’s unlock time.

What is Heavy Stubber

The Hefty Stubber’s heavy shells can sweep aside Poxwalkers and knock back foes wearing heavy armor, making it the ideal high-damage weapon for Ogryn’s duty as a tank. When Orgyn’s character achieves level 9, they can unlock the Heavy Stubber. When the Heavy Stubber is unlocked, gold coins can be used to buy it from the Armory Exchange. The Krourk Mk V Twin-Linked Heavy Stubber is the only heavy machine gun that is currently offered. It has a big magazine capacity, but the ammo supply is minimal, so players will need to acquire some ammo in the game. Additionally, it has a 7-second reload time, so players must be careful not to come into contact with any adversaries during this period.

How to Unlock Ogryn’s Heavy Stubber in Darktide

Players must raise their Ogryn Trust Level to level 9 in Warhammer 40K Darktide in order to obtain Ogryn’s Heavy Stubber. Once unlocked, the Heavy Stubber can then be purchased through the Armory Exchange. As with any weapon, the cost rises steadily as the player’s degree of trust rises.

The Heavy Stubber, which has a magazine capacity of 124 bullets and an extremely rapid rate of fire, is the weapon you’ll need to acquire if you’re playing as Ogryn in the game. When you need to occupy a certain space or engage a sizable group of opponents, this weapon is ideal. In this scenario, the player only needs to stare at the enemy squad before pulling the trigger. On the other hand, it’s best to choose a different weapon if you wish to get past the opposition. The damage of Heavy Stubber was initially modest, which made it difficult to dispatch adversaries quickly. As a result, the creators ultimately opted to boost it by 33%.

The Heavy Stubber in Darktide also has seven different properties that can make Orgyn even more powerful in certain situations.

Blaze Away: Up to +2% energy when shooting.

Endless Barrage: Continuous fire increases suppression over time.

Charmed Reload: Reload +8 bullets on critical hit.

Dumdum: +1-2.5% melee damage on repeated hits. Stacks 5 times.

Deathspitter: +5-6.5% Energy on melee kills for 1-1.375 seconds.

Inspiring Barrage: Restores 10% resilience when firing continuously over a period of time. Stacks 5 times.

Roaring Advance: Increases movement speed by 5-15% while shooting.

Although all perks enhance the player’s weapon, some are more potent based on the playstyle being used. At more information regarding Warhammer 40K Darktide’s unlocked weapons, players can sign up for Topgmnews.com.